Saturday, July 11, 2015

More Fun with Marilyn Ray Knopic's Mokume Gane Technique

Warning! This post has a LOT of pictures! I've been playing around with the Mokume Gane technique by Marilyn again, this time with greens and blue inks only. Here are some of the nicest! 


This is the back of the previous one. I had these baked for a couple of weeks now but ran out of Magic Glos. I ended up getting a 6 oz bottle from Amazon because I know I'll be using it for these! It came out about half the cost of getting it in the store....well worth it!


It is amazing how the blues and greens pop on these once the resin is on them. They are quite dull without it, even if you polish them...The shine from the foil really stands out after doming!


This is the back of the previous one.  This side is flat. It just looks textured. :)


Front. 


Back. This one is textured.


Front. Love the colors in this one. I used Sailboat, Stream, Lettuce, Bottle...a few others...


This is the back of the previous one. 


Front.


This is the back of the previous one. 


Love the ones with the dots in them. :) Front.


This is the back of the previous one.  The backs of some of these aren't great...


Front.


This is the back of the previous one. 


This is one I wrapped from the previous batch with the reds and yellows.


This is the back of the previous one.  No resin on this side.


Previous batch again. Front.
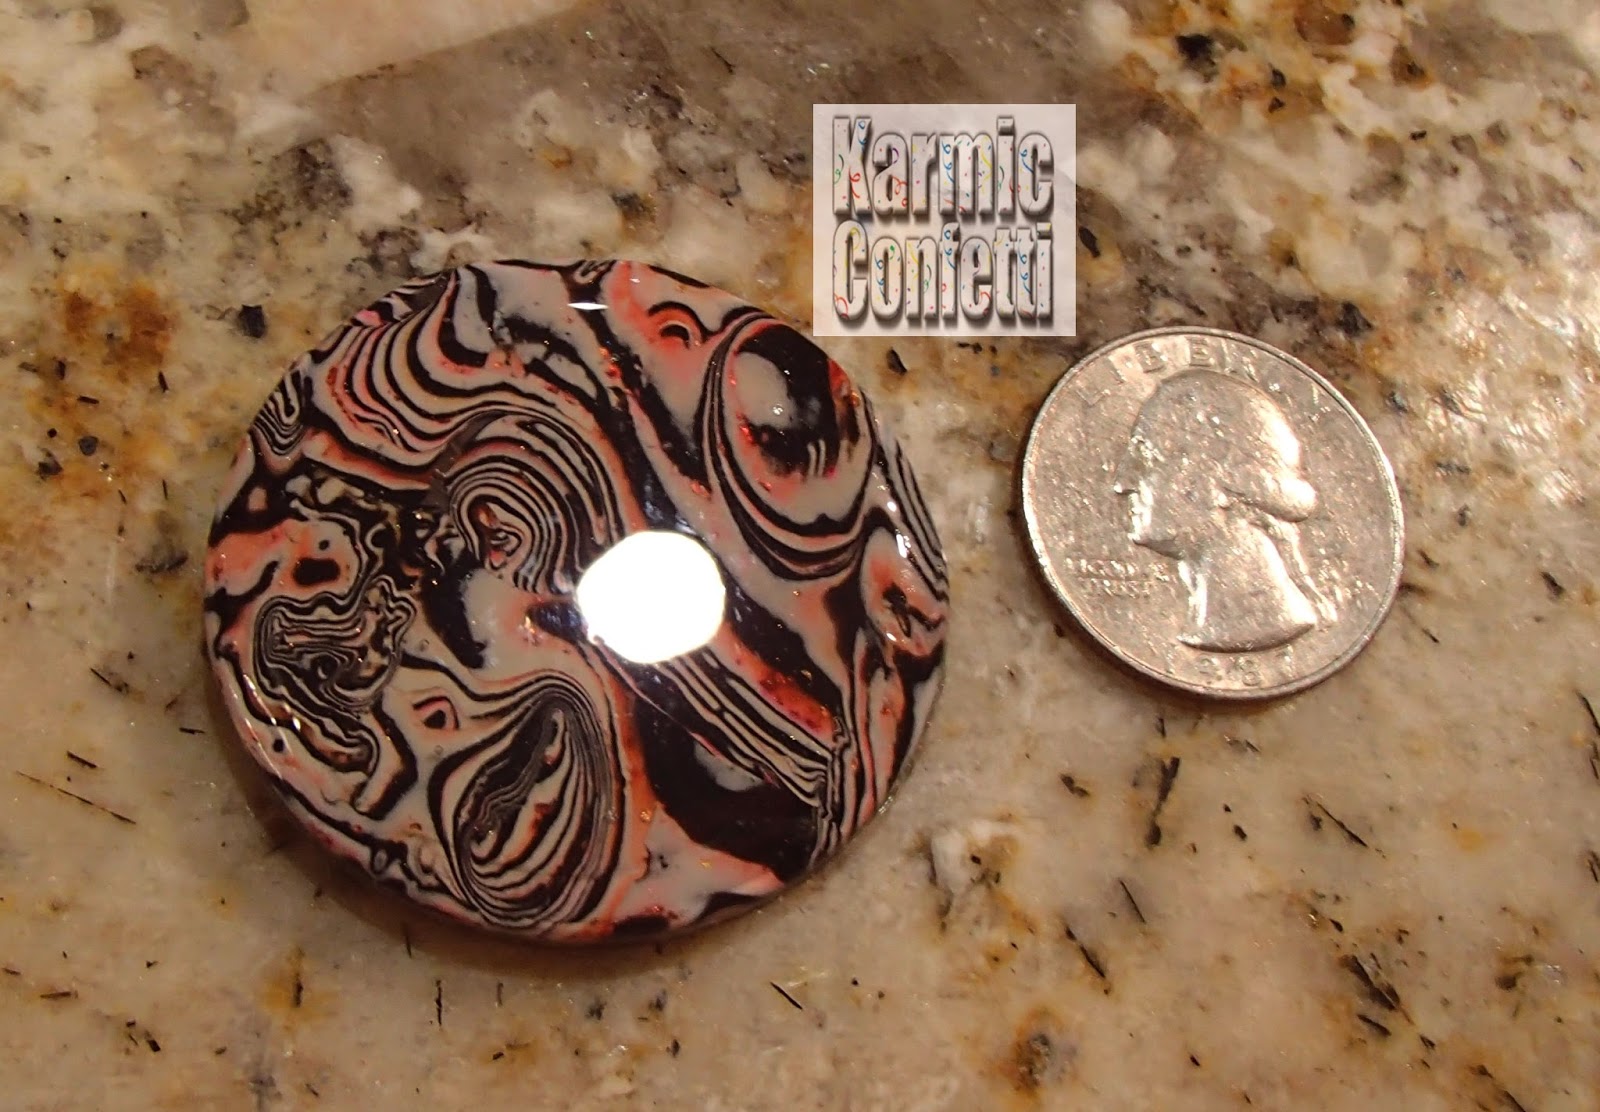

This is the back of the previous one. No resin on this one. The matte finish can be interesting, too.
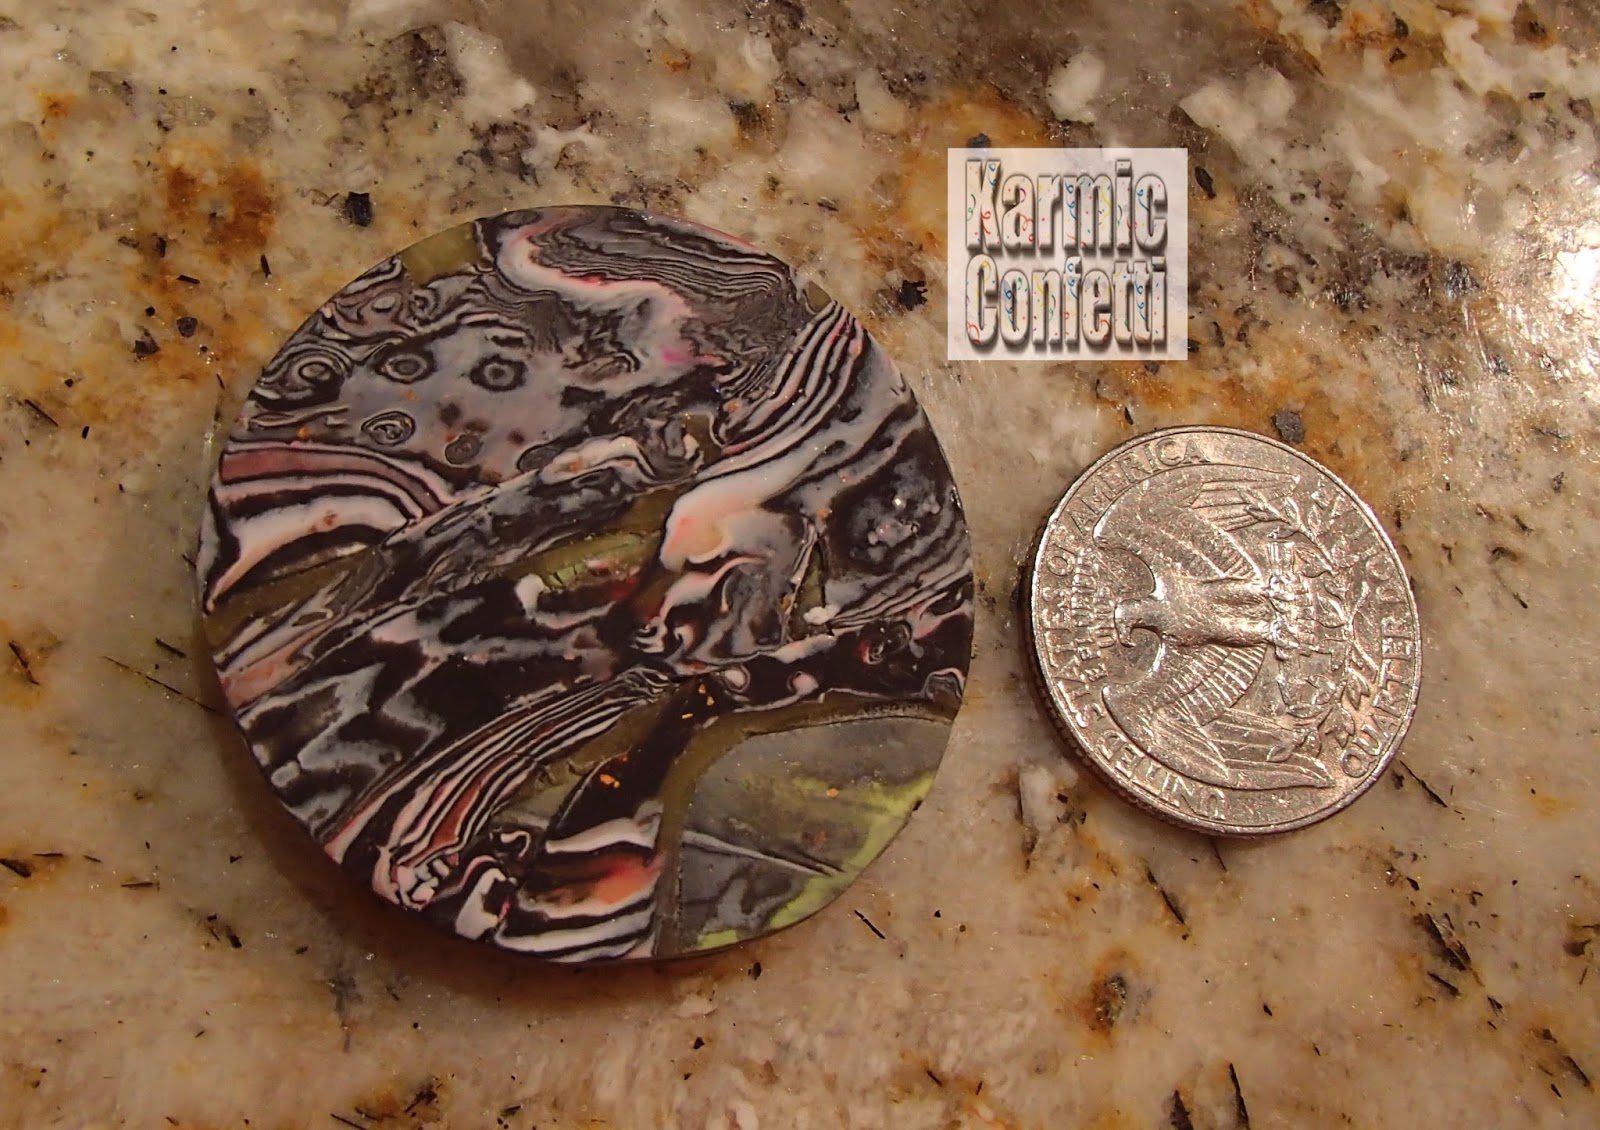

Back to the blues! This one is much smaller.


This one is a bit different from the other ones in the red batch. I used some Kato Liquid Clay over it at first and didn't like it, so I sanded it smooth and used the MG. It gave it a hazy look that I really love. It reminds me of Bryce Canyon.


This is the back of the previous one. 


First one I used the twisted wire with. Had a coupon @ Michaels! :) The bursts of pink look like tiny flowers...love this batch!


This is the back of the previous one. 


The red batch again. 


This is the back of the previous one. I use coarse sandpaper to make the texture on the back.


This one is a little different from the others. It is still the same red Mokume Gane stack, the very end scrap...I flattened it over a previously completed bead and pressed a stamp into it. Then I rubbed some copper powder into the high spots. I really like it.


 Made a couple of swirl beads with some scraps I had laying around (from my next post!) and decided to use some eyelets to run the cord through.


This is the back of the previous one. 


Another swirl bead.


This is the back of the previous one. 


Then I had been thinking about a bead I saw online recently that had a lot of swirls and layers and translucency. I had got a new Fimo clay color called  Blue Ice Quartz and wanted to try to emulate the one I had seen, making a light blue striated "stone" of clay.

Well, I may have wanted a light blue stone but this is what came out of the oven.  I think the Ice clay is a transparent clay and it wasn't quite what I was looking for. I used a variation of the Mokume Gane technique Marilyn uses, without any ink or foil. I just wanted the layers. I am not saying it's ugly, it's just not what I planned on. :) I used transparent, the Ice blue and some white. I have the light pink quartz, too and may not try it with this technique! 


I also got the bright idea to use some of the sheet metal I've been working with (available at Home Depot, 10 5x7" sheets for less than three dollars!). I had been cutting very thin strips of it off and noticed how it curled up. I decided to embed it in the clay to give the plain clay some life. It does make it a little harder to sand the piece after baking, so plan accordingly!


I also used white eyelets to strengthen the holes. I love the polish on this one! Again, I just sanded well at 220, went over it again with some 2500, then buffed. I did find a trick that makes it shine even more though...use a light paste of cornstarch and water. Rub it on the stone and use your Dremel to buff it off....outside, preferably, as it makes a mess! But look at that shine...!


More sheet metal. This one buffed up very nicely, even with the aluminum on top...


I really loved the shine on this one, as well. Maybe not what I was going for but still nice. Can you imagine it in a light blue though? :P I have to say it reminds me of faux ivory, which I love.


The darker area is where the blue Ice was. Hmph. ;)


Last one! I loved the striations in it. Hope you enjoyed the photo show! 


Thanks for looking - make sure to stop by my Pinterest page to see a lot more of my creations, and please like my Facebook page, Karmic Confetti

Friday, July 10, 2015

Leo the Timneh Gray Parrot - Sharpie Oil Paint Pens & Pebeo Prisme

I've been working on a few secretive projects lately, and one of them was a present for my aunts. I made a painting of their Timneh Gray Parrot, Leo (short for Leocadia, for my grandmother) with oil based Sharpie paint pens. They have had her for quite some time and I wanted to do something special for them for one of their birthdays. Timnehs are related to African Greys and are very smart birds. This is not Leo but I didn't have a great picture of her and loved this one...There were originally two birds but this one was the one I liked. :)


I decided to totally cheat and trace that image on some clear textured glass. This was actually a very quick project, at least until the framing part of it! Trace the image in black and scrape off any paint that you don't want. I decided to outline her feathers by scratching into the paint so the detail would show up if there was a light behind it. I did not have any gray markers, so I used black and white paint and it sort of mixed on the glass. 


After thinking about it for a while, I decided to use my Pebeo paints and enhance the bland painting. It would also hide the reversed text from the opposite side. But how to keep the paint where I wanted it and away from Leo? I looked around the craft store and found an outline paint for glass, which had a very narrow tip and turned out to be a bit sparkly.  In the photo above you can see how I outlined the bird before I started using the Pebeo paint. It dried as a raised line so I decided to try it  to keep the Pebeo paints outside of Leo's outline. 

Both the Sharpie paint pens and the raised line paint needed to be baked in the oven for permanence so after several days to let it dry, I baked the painting according to instructions. I don't think the Pebeo can take the heat so I had to do this step before painting. After what happened to my tiger (see a few posts back, Sharpie Paint Pens and Glass Fusing), I didn't want to go too high - esp as I thought it might scorch the sparkle paint. The photo below shows it not long after I added the living paint. I used Buttercup Prisme for the yellow, Vermillion for the tail, Leaf and Moonstone for the rest. I did have a bit of the paint spill a little over the side of the sparkly line but I wiped it off and moved the paint away from the area. You can see the shine from the wet paint! I didn't add an outer border to the edge, and the painting didn't need it as it is thick enough to stay put....to a point!


You can see below how the paint settled into the slight texture of the glass.  It added a cool look to the  other side. You can see the raised lines outlining Leo and her feathers in this one, and also how it covered the backwards text on this side. You can see that instead of a frame (the glass wasn't a size that would fit in a frame, plus I wanted to see the design from both sides.) I taped the edges with copper tape. I could have soldered but I did not. I first used a long piece of copper colored aluminium flat wire around the entire bottom and up both sides of the painting (like a U) and made loops at the ends to hang it with. (This is the same wire I use for bezels for my pendants!) Then I taped the entire thing to the glass as neatly as possible to secure it all. Quite sturdy, even without the solder. I know, because I dropped it on my tile floor while I was wrapping it! Other than the loops getting a little flattened, it did not get damaged at all! Thank goodness, because I was going to visit them the next day and I would have been upset if I broke it...:)


Close up of this lovely paint....it's funny how it made tinier effects on the low spots. There were a couple of spots I had to touch up areas where the paint didn't quite cover and you really couldn't tell in the final product.


This is the original side I painted on with the paint markers, the side without the outline or Pebeo paint. Leo seems to stand out because the Pebeo paint is on the other side. I wish the special effects were visible from both sides, but this side looks like plain paint. Funny, huh? At least you can see the texture of the glass, which adds interest. Anyway, my aunts were very happy with their gift. Leo, I am not sure!


Thanks for seeing how Leo was made - make sure to stop by my Pinterest page to see a lot more of my creations, and please like my Facebook page, Karmic Confetti

Wednesday, July 1, 2015

Underwater Glass Painting

I'm still using the oil based paint markers from Sharpie to paint on glass. A good friend gave me a large piece of glass and I got some Martha Stewart glass paint and silk screens on clearance and decided to give it a shot. I wasn't sure what to paint but had recently purchased a mermaid stamp @ Michaels, and one of those kids scratch engraving kits (for the pen they include because I heard it kind of catches the scrapings, which would be helpful when I am using mica to sgraffito on glass) and thought they had the same theme and went for it.

This is the silk screen results. I love it! Not hard to do...although I am notorious about not washing out the screens and ruining them! I made sure to wash them out this time. Such lovely detail! I used MS copper colored paint but it dried rather gold tinted. Considering it was hard to find any other brand of paint for glass that had metallics, I was very happy! The hardest part was the spacing on the sides...you can't see through the silk screen to see how to line it up to merge with the last one. Oh well, no one ever said I was perfect!


Here is the kid's holographic engraving kit all scratched off. I have an aunt who loves seahorses and I thought I would give it to her - I didn't think it was going to be so pretty! :) Might have to get another for me...


And here is the part I freehand copied the seahorses to. Artistic licence, dontcha know. :) I added a few other details, anything I could think of to make it look like an undersea scene. Not really sure about the giant clamshell near the seahorses head...looks like either an egg or a thought bubble. :D 


Here they are next to each other so you can compare. The nice thing about this painting on glass....you can either use paint thinner or a razor to scratch off any paint you don't like and try again. :) I modified this one quite a bit from my original attempt. Some of the plants were painted with actual paint instead of markers, Americana gloss enamels, meant for painting on glass. I used gold paint marker for the seahorses and starfish, and accented it with yellow to brighten it up, or black marker to shade with some fresh gold over it, to blend. Using markers is a little different from using a brush. And I used the tool from the engraving kit to scratch into the paint for texture and to add dark accents, since the glass is dark through the paint.....


Here is the back of the rubber stamp I used as inspiration. I just love this stamp! Her eyes remind me of the drawings that were in the Oz series of books by Frank Baum. LOVED those books! I read them all....But anyway, you can see why I connected the two, with the baby seahorse she's holding!

And here is the part of the painting I did with her in mind.  Her hair could have been a little better but I don't have the thin tipped markers and it's harder to get fine detail. I used some real glass paint here, as well, since the markers I have don't have any flesh tones. You can see the original stamp and a stamped/embossed piece of blue glass I made with that stamp above the painting. (The glass is laying on a towel on my kitchen counter in the pics.) I decided to give her a rock to sit on and I had never painted a rock before (of course, I have never painted any of the other things in this painting, either!) and watched a couple of videos...didn't turn out too badly! At least from a distance. :D This one is an earlier version from the completed piece...I made her thighs thinner (are mermaid's thighs called thighs? :D) and blonded up her hair quite a bit in the final version...I used the same copper paint I used on the edges on her hair and then used a yellow paint marker over top to lighten it up. 


Here it the completed painting, all hung up. One cool thing about this is that it's dry very quickly because the markers dry so fast. I used some glass paint and some glitter paint meant for glass for the bubbles on the critters I added. The entire piece of glass is about a foot wide and 32" tall. It is a dark purpley color with a deep texture on the back, and you can't really see through it, so we decided to put it in this corner behind our kitchen cabinets on the wall instead of trying to hang it with a light behind it. It really brightened up this empty corner! Even though it's dark...:) It enhances the dark cabinets, though.


No, I am DEFINITELY no professional, but I am still happy with it. Especially her face! I was afraid I would have to call her Butterface. :D I wanted to post it to show you you can use these markers on just about anything! I did not bake it because I also used some Lumiere paint on her tail and I am not sure you can bake it at temps needed to make the paint permanent. Still need to do some investigation. I don't plan on washing it anyway and it should hold up to a damp sponge once in a while!

Here are a couple of closeups. You can see the blue streaks of glass paint on the top one...doesn't show up well on the dark glass but makes a nice wet effect.


Here are the seahorses. You can see a better shot of the rock...so proud of that rock! :D And my little Nemo...and friend. :D And yes, I know those are not water plants but I liked them anyways. Hehe.


Thanks for looking - make sure to stop by my Pinterest page to see a lot more of my creations, and please like my Facebook page, Karmic Confetti

Friday, June 19, 2015

Oil Based Sharpie Paint Pens and Glass Fusing

On one of my glass fusing groups on Facebook, someone mentioned you could use an oil based Sharpie paint pen on fused glass. I was surprised to hear that so I went to the store and picked up a package. Managed to hit a 50% off coupon at Michael's so that helped....these pens are not cheap! I bought a white and a black one to start and made a flower pendant (in the style of Margot Clark and her MUD) using sgraffito techniques. I used black glass and the white paint pen. I was pretty happy with how it came out for a first try. I had a problem with this pendant...it broke in the MWK, but I managed to fuse it back together and otherwise the paint did well in the kiln. You can see the faint crack in the upper third.


Second try with this paint. Fused beautifully! I am pretty sure it will not scratch off!


My lion. The lines seemed to get finer on firing. I am trying to remember to include a quarter with my photos so you can judge size...this one is very small. Less than an inch wide.


On these two and the lion, I rubbed some gold mica powder into the ink before firing. They got a golden hue from doing so, which added to the plain white. Looks better in person, of course. :)


Then I tried this one, after I bought a full set of five colored pens. Blue water on the back piece of black glass, with green "grass" coming up from the bottom. Did a little sgraffito on the background and the betta...his rear front fin was on the back side of the clear piece of glass, while the main part of him was painted on the top, for depth. I was so proud! It looked pretty good for a first attempt. (I fully credit Mark Hufford from my FB group for the inspiration to even try this stuff...he's so talented!) 

And then, I fired it..

Sorry, no pix of how it looked immediately after I fired it. I was THAT disappointed! 

ALL the paint was white. You can see the remnants of the blue and green paint inside the glass. And there was a huge black burnt bubble inside under the fish. I may not have let it dry long enough, I'm not sure. The most disappointing part is that apparently you lose ALL the color on firing these paint pens to full fuse. So, being a cheapskate, and not wanting to waste the glass, I decided to paint another fish over top to try and cover it. I should have ground the edges and fired it again beforehand but I didn't because I was worried about the bubble inside...thought it might pop in the MWK....so this one will be mine. (I changed the betta's color to blue btw, because it blended into the red background too much otherwise. So this paint is pretty thick...Tried red on top of the fused white paint first before settling on blue..)


The one below is not fired; I baked it in the oven instead. I went online and read that you can use these oil based paint Sharpies on the mugs they are always pinning on Pinterest and bake them in the oven to make them "permanent"...So I decided to go that route instead of fusing in the kiln. I do not think they are THAT permanent, however. But since I fused the betta the first time, maybe this will be less apt to scratch. If I do get a scratch, I can always repaint it, lol. I TRIED to hide the burnt spot...it almost looks like a shadow from the fishie in the photo...:Ok, no, it doesn't. .D You can see how the paint changed from the photo above, though. It's less shiny and colorful, although it didn't lose much detail. I baked it for thirty minutes at 350F. More about that below.


Then, since I wasn't going to fuse the paint anymore and don't want to waste it, I decided to try painting some stained glass I had and bake it to try to make it more permanent (they call it "dishwasher safe"). I only colored the eyes with this one...wanted to make it look more like etched glass.


Wanted to show the difference between the look of this one and the etched on I made using my Dremel. It isn't as permanent, but much safer to create! 


Just wanted to show how the real etched one does not show up the same on a light background! (Two photos above shows the painted one on the same background.) And yet....this is far more delicate and beautiful, in my opinion! :) I just hesitate to do it without proper protection for both me and my animals, and I can't find room for all that!


Here's my tiger. I think my animals are getting better, at least! :) Still using sgraffito to make these. The glass on this is actually transparent, although very dark. The only colors I used were pink, yellow and white...the darker areas in the white are where Super Copper mica powder is rubbed into the paint. Oh, and these are both about 8 x 10".


One of the pins I saw about these pens said to use 450F as the temperature to bake them at, and to bake them for 45 minutes. Apparently it sort of melted the paint and the mica powder I applied melted into it and turned it golden! OR the oven was too hot, since they seemed to darken a bit...not sure. The higher temperatures muted the colors quite a bit, too. The betta above, I baked at 350F for the thirty minutes recommended elsewhere, just in case! The colors on that one did mute a bit but not as much as the higher temperature did. But at least it's still got its original color and isn't white!


The tiger had Super Copper powder rubbed into it which also melted into the paint. You can sure see the color difference in the eyes and nose. These paint markers still scratch off after baking, by the way...so, not so permanent...I guess for fused glass, I have to find real glass paint for fusing. If I want white paint, I CAN use the Sharpie paint pens, though. :) 

Someone had recommended Pebeo pens made for ceramics that is largely indelible after baking in a regular oven but I haven't found them locally yet. And reviews were mixed as to whether they held up well and it was stated that they are pricey.  I would order the paints I've read about for fusing but unless I can get it locally I can't really allow myself to purchase it. I would have too much explaining to do about why I need ANOTHER kind of craft, considering my craft room is filled to bursting as it is! I did cheap out and buy some sample enamels for glass from Folk Art and some Testors, so stay tuned! I don't know how I'll do with a brush though...the pens seem so much easier!


Thanks for looking - make sure to stop by my Pinterest page to see a LOT  more of my creations, and please click "like" on my Facebook page, Karmic Confetti