Showing posts with label fusing. Show all posts

Saturday, July 25, 2015

Finished Pendants - Microwave Kiln

Haven't done too much on the MWK lately because of my success with the Mokume Gane technique lately, but I finally finished adding bails to a lot of completed glass pendants I had waiting for me to get off my butt! Thought I'd post some photos. 
This one is one of my Sharpie Oil Based Paint Marker pendants.

The one above is a little different from most I've made. I used a Martha Stewart screen printing kit to put some embossing ink on the glass, then sprinkled purple powdered glass frit on the wet medium.  After it dried, I capped it with some clear glass using the same trick with the screen print and ink but using Citrine mica for some shimmer.
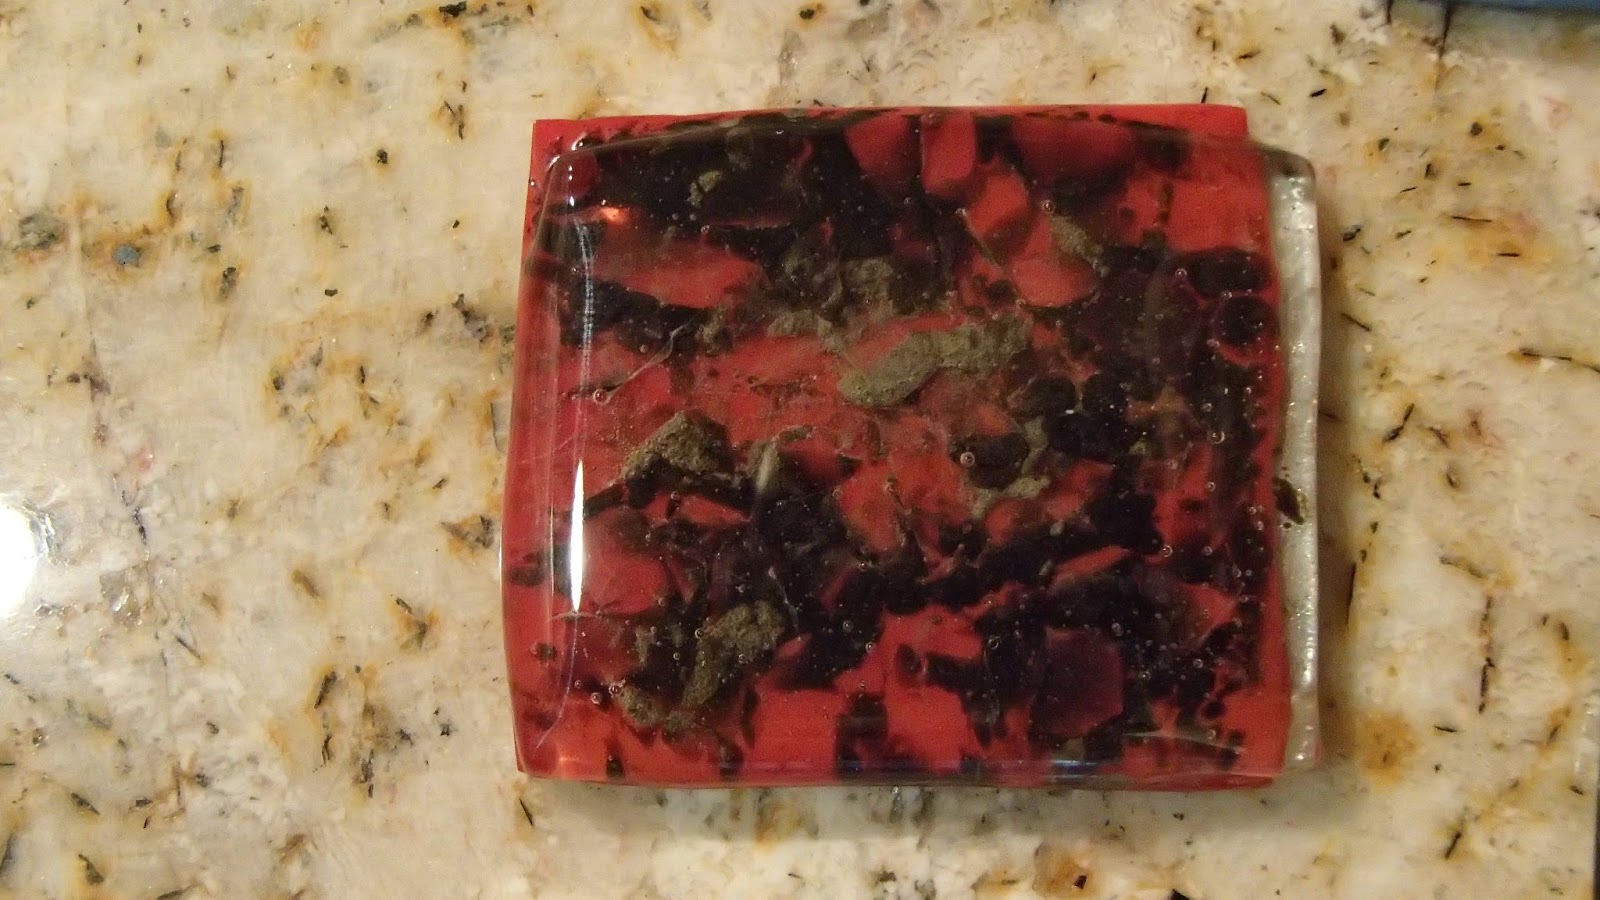
This one broke in the kiln, I'm sorry to say. I tried to fuse it back together but we'll see if it holds!

This is another one I used a MS screenprint screen on, with embossing ink and mica this time. :Love the lace look! It is also inside the pendant....it is a negative, though, so it looks like black lace with a copper background...

Another Sharpie oil based paint pen piece. I rubbed some copper mica powder into the dried paint before firing. It melts slightly and makes it permanent.

This is the back of the previous pendant. I used red transparent glass for the back, with Citrine mica powder and used my favorite sgraffito technique.

More of the Sharpie Oil Based Paint pen and sgraffito.
Sgraffito and mica powder on black glass.

Sharpie oil based paint pen and sgraffito. I used Citrine mica powder before firing to give him a golden sparkle.

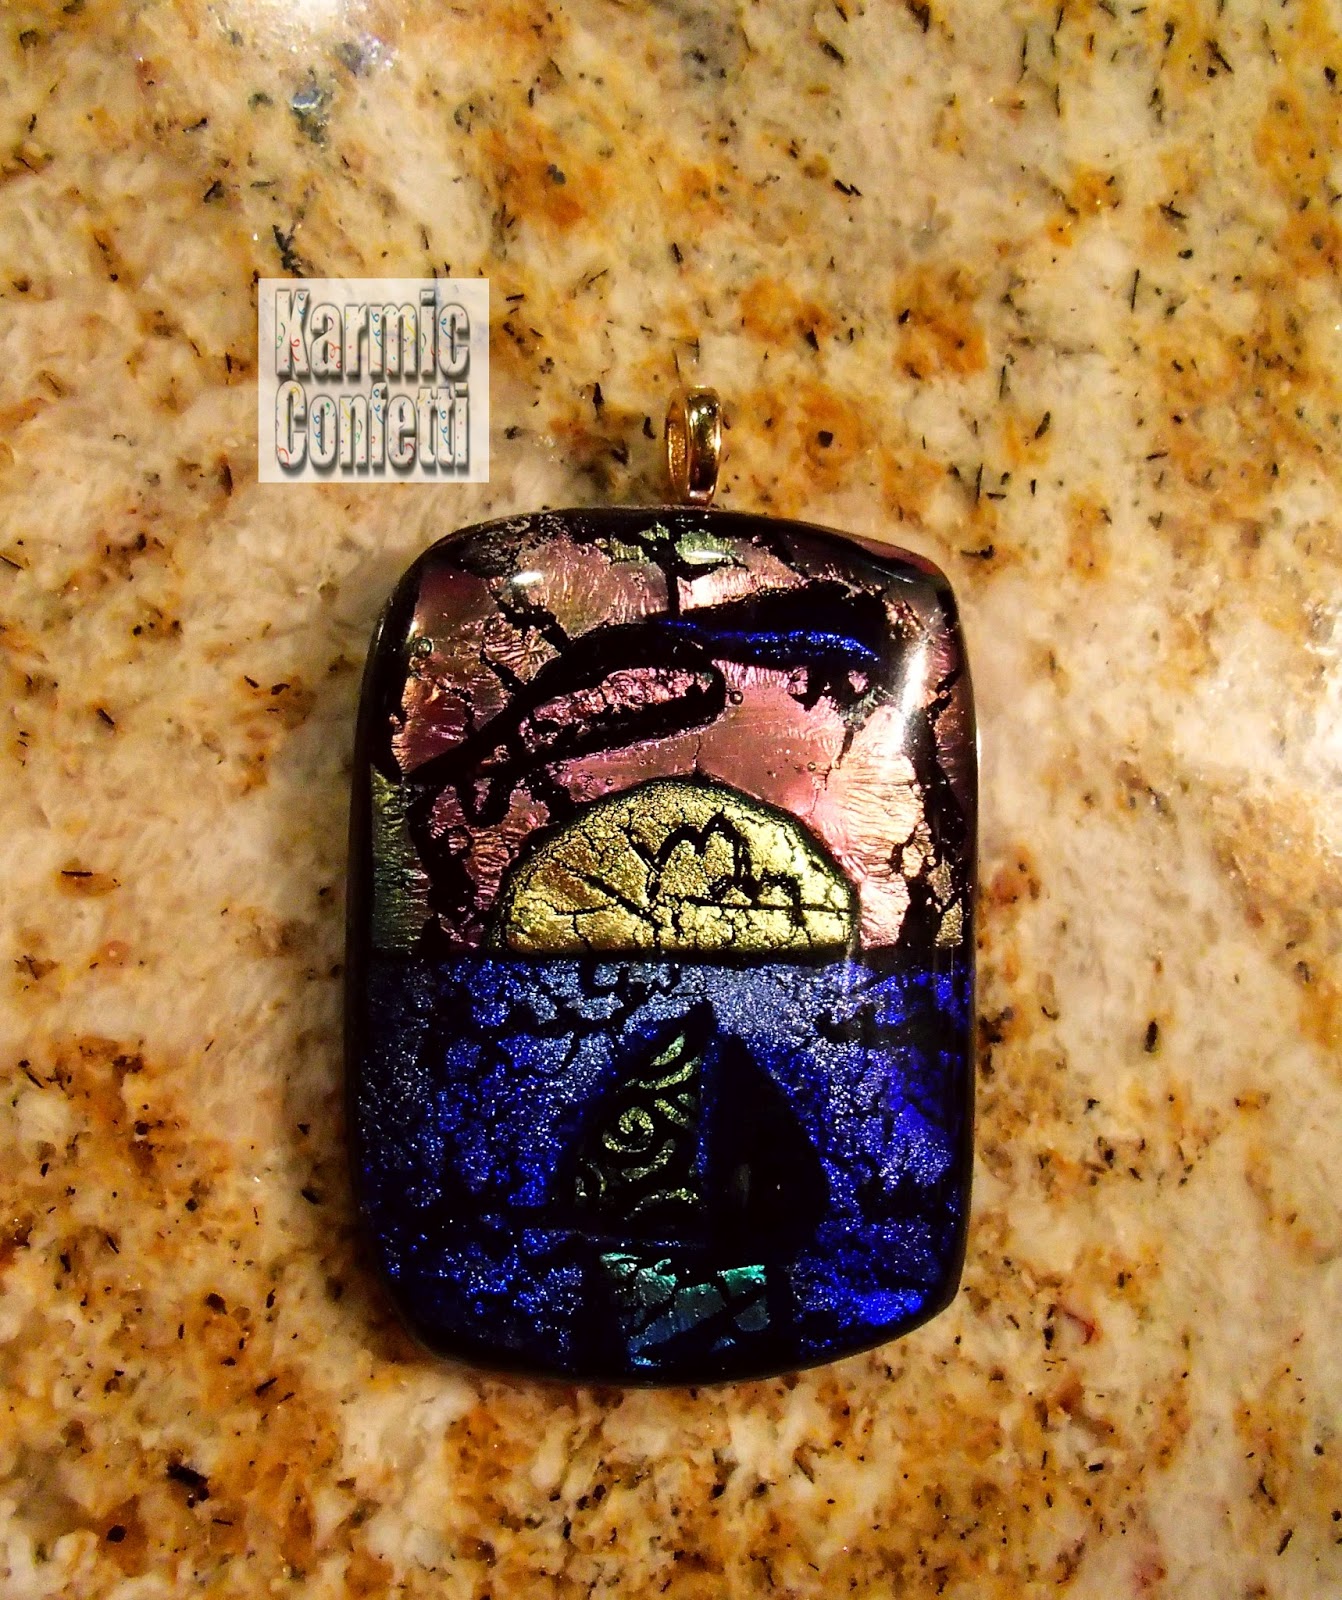
I love making these. The moon and the water are dichroic pieces. The deer and tree are embossing ink and mica powders.

The back of the previous pendant. I scratched a heart on the tree trunk. :)

Thanks again for looking - make sure to stop by my Pinterest page to see a lot more of my creations, and please like my Facebook page, Karmic Confetti!


Wednesday, July 22, 2015

UPDATED! Polar Fusing - Glass Fusing - Microwave Kiln

Someone asked about polar fusing and I had a bunch of pics ready to write a blog post about it, so I got busy writing! I had no prior experience and have a ton of molds and had bought the Polar Fuse kits @ Hobby Lobby so I read some article and then dove in. This is what worked for me. It isn't difficult to do but I did it a little differently than many directions tell you. I started off by putting some purified water in the molds..I used some Martha Stewart molds I've been waiting for a chance to try. You place some of the powder in there (I cut the end off a straw and made a little shovel with it) on top of the water. After you get enough in there it settles...I used a small spoon to press it into the corners of the mold very hard so there would be no gaps or bubbles in the final product. They are silicone molds so you can press very hard...just try not to make it crack.

These pictured below have not been fired yet...just out of the freezer. I did wait a few times i tried this method for it to thaw out (and you must have them frozen very solid so don't listen to directions that tell you one hour in the freezer is sufficient!) but after a few times I just fused them right out of the freezer...I DID go very slowly in my microwave, starting at 10% power for 9 minutes, then 5 mins at 20%, then 3 minutes at 30%, 40%, 50%, and continued at 60% until they were completely (or mostly!) fused. I figured doing it that way would give it time to thaw out and for the minimal amount of water in it to dissipate. I used two different colors in these.


Here's a Martha Stewart (MS) flower from one of her molds. I put some mica powder on my finger and rubbed the high spots of it, which turned out to be a good thing to do!


Here is the flower after fusing. I had a little crack or something happen but the mica brought out the highlights on the flower. The bird, I am sorry to say, blew up in the kiln! I heard a "pwoof" and opened the kiln to find powder everywhere. I ended up scooping all the powder up and reusing it since it wasn't fused at all...:)


Here's the little owl and sealife. They weren't completely fused - hard to tell in the picture, but I didn't want them to melt too much so I stopped there. The owl will get darker once I add it to another pendant, for instance.


Here are the ones I fused next to their molds, so you can see how much they shrank. I have heard of polar fuses shrinking even more...I think the key is packing the powders into the molds well. The flower at the bottom needs to be fused more, which is why the color looks strange, but it was melting too much in the center so I stopped there. The MWK doesn't leave you a whole lot of control temperature wise!


Here's a few from a different mold - one of my favorites! I have used it a lot...the sun face on the right is in polymer clay...once again, you can see how much the glass shrinks with this technique. I dipped my finger in mica powder again for the moon on the left before I fused him. He melted a wee bit too much so I am glad I used the mica...it keeps their features a little bit even though the shape isn't perfect.


I ended up using the sealife pieces on a piece of dichroic that actually broke in the kiln....the figures hid the crack quite well when I fused it back together. :) You can see the seahorse and crab darkened somewhat on this second firing. The colors of the pendant remind me of the ocean and sand on the beach....I used the trick I saw elsewhere of using that flat bezel wire to make a bail for it. This one has found a good home!


UPDATED 7/25/15: Forgot to add this cautionary tale when I wrote this: I tried to do the same thing with another dichro pendant that broke, with some other polar fused shapes I had on hand from the same mold. I let it go just a few seconds too long and look what happened! :P Seconds count in a microwave kiln!


 Thanks again for looking - make sure to stop by my Pinterest page to see a lot more of my creations, and please like my Facebook page, Karmic Confetti

Friday, June 19, 2015

Oil Based Sharpie Paint Pens and Glass Fusing

On one of my glass fusing groups on Facebook, someone mentioned you could use an oil based Sharpie paint pen on fused glass. I was surprised to hear that so I went to the store and picked up a package. Managed to hit a 50% off coupon at Michael's so that helped....these pens are not cheap! I bought a white and a black one to start and made a flower pendant (in the style of Margot Clark and her MUD) using sgraffito techniques. I used black glass and the white paint pen. I was pretty happy with how it came out for a first try. I had a problem with this pendant...it broke in the MWK, but I managed to fuse it back together and otherwise the paint did well in the kiln. You can see the faint crack in the upper third.


Second try with this paint. Fused beautifully! I am pretty sure it will not scratch off!


My lion. The lines seemed to get finer on firing. I am trying to remember to include a quarter with my photos so you can judge size...this one is very small. Less than an inch wide.


On these two and the lion, I rubbed some gold mica powder into the ink before firing. They got a golden hue from doing so, which added to the plain white. Looks better in person, of course. :)


Then I tried this one, after I bought a full set of five colored pens. Blue water on the back piece of black glass, with green "grass" coming up from the bottom. Did a little sgraffito on the background and the betta...his rear front fin was on the back side of the clear piece of glass, while the main part of him was painted on the top, for depth. I was so proud! It looked pretty good for a first attempt. (I fully credit Mark Hufford from my FB group for the inspiration to even try this stuff...he's so talented!) 

And then, I fired it..

Sorry, no pix of how it looked immediately after I fired it. I was THAT disappointed! 

ALL the paint was white. You can see the remnants of the blue and green paint inside the glass. And there was a huge black burnt bubble inside under the fish. I may not have let it dry long enough, I'm not sure. The most disappointing part is that apparently you lose ALL the color on firing these paint pens to full fuse. So, being a cheapskate, and not wanting to waste the glass, I decided to paint another fish over top to try and cover it. I should have ground the edges and fired it again beforehand but I didn't because I was worried about the bubble inside...thought it might pop in the MWK....so this one will be mine. (I changed the betta's color to blue btw, because it blended into the red background too much otherwise. So this paint is pretty thick...Tried red on top of the fused white paint first before settling on blue..)


The one below is not fired; I baked it in the oven instead. I went online and read that you can use these oil based paint Sharpies on the mugs they are always pinning on Pinterest and bake them in the oven to make them "permanent"...So I decided to go that route instead of fusing in the kiln. I do not think they are THAT permanent, however. But since I fused the betta the first time, maybe this will be less apt to scratch. If I do get a scratch, I can always repaint it, lol. I TRIED to hide the burnt spot...it almost looks like a shadow from the fishie in the photo...:Ok, no, it doesn't. .D You can see how the paint changed from the photo above, though. It's less shiny and colorful, although it didn't lose much detail. I baked it for thirty minutes at 350F. More about that below.


Then, since I wasn't going to fuse the paint anymore and don't want to waste it, I decided to try painting some stained glass I had and bake it to try to make it more permanent (they call it "dishwasher safe"). I only colored the eyes with this one...wanted to make it look more like etched glass.


Wanted to show the difference between the look of this one and the etched on I made using my Dremel. It isn't as permanent, but much safer to create! 


Just wanted to show how the real etched one does not show up the same on a light background! (Two photos above shows the painted one on the same background.) And yet....this is far more delicate and beautiful, in my opinion! :) I just hesitate to do it without proper protection for both me and my animals, and I can't find room for all that!


Here's my tiger. I think my animals are getting better, at least! :) Still using sgraffito to make these. The glass on this is actually transparent, although very dark. The only colors I used were pink, yellow and white...the darker areas in the white are where Super Copper mica powder is rubbed into the paint. Oh, and these are both about 8 x 10".


One of the pins I saw about these pens said to use 450F as the temperature to bake them at, and to bake them for 45 minutes. Apparently it sort of melted the paint and the mica powder I applied melted into it and turned it golden! OR the oven was too hot, since they seemed to darken a bit...not sure. The higher temperatures muted the colors quite a bit, too. The betta above, I baked at 350F for the thirty minutes recommended elsewhere, just in case! The colors on that one did mute a bit but not as much as the higher temperature did. But at least it's still got its original color and isn't white!


The tiger had Super Copper powder rubbed into it which also melted into the paint. You can sure see the color difference in the eyes and nose. These paint markers still scratch off after baking, by the way...so, not so permanent...I guess for fused glass, I have to find real glass paint for fusing. If I want white paint, I CAN use the Sharpie paint pens, though. :) 

Someone had recommended Pebeo pens made for ceramics that is largely indelible after baking in a regular oven but I haven't found them locally yet. And reviews were mixed as to whether they held up well and it was stated that they are pricey.  I would order the paints I've read about for fusing but unless I can get it locally I can't really allow myself to purchase it. I would have too much explaining to do about why I need ANOTHER kind of craft, considering my craft room is filled to bursting as it is! I did cheap out and buy some sample enamels for glass from Folk Art and some Testors, so stay tuned! I don't know how I'll do with a brush though...the pens seem so much easier!


Thanks for looking - make sure to stop by my Pinterest page to see a LOT  more of my creations, and please click "like" on my Facebook page, Karmic Confetti

Monday, May 25, 2015

Tiger, Tiger Burning Bright...(Glass Fusing & Mica Powders)

I have been on a tiger kick lately. No particular reason why.. I just like 'em and they aren't too difficult to sgraffito! :) Still doing my mica powders and fusing...just used up the last of my black scrap COE 96 tonight. The ones below are my first attempts, from left to right. 


This one didn't actually make it to the fusing stage...he was a little too crazy eyed! First attempt at drawing a snarling tiger. :D There are some amazing artists on Youtube sharing their techniques and I was attempting to copy an artist named Alphonso Dunn (see the tutorial here). The nice thing about doing the sgraffito before its fused is that you can wipe it off and start over...:)

\\

He also inspired me to try an eagle.  But this post is about tigers! :)


These two are much better. Practice makes perfect! I was happy that I didn't need to grind or firepolish the one on the right.


This guy did make it to getting fused, below. 


He hasn't been ground and firepolished yet but I'm happy with him!


Next, I decided to do a 3/4 view.  I'll probably repost his photo after I get him ground and firepolished.


Then a friend gave me some old bottles and I decided I needed a bigger canvas. :)


He sort of came out like a negative, so I took the photo into my graphics program and made it into a negative to see if it showed up better. 


I was worried about doing a rounded shape but I didn't slip. I wasn't using my rotary tool...I was using a much less powerful battery operated engraving tool. 


On the back, I tried to make one of those one stroke flowers with my engraving tool. Not too successful but it was my first try. :) With sgraffito, you are basically scratching the outlines of your picture into your glass. That's why I like using black glass...the scratched lines are black and outline your drawing nicely....like drawing with a dark pencil on white paper. But on the dark bottle, my tiger above looks like a negative. The parts I etched became lighter.  I watched this wonderful glass engraver named Lesley Pyke (see her amazing work here) and she talks about engraving the light. After trying to etch the flower, I understand that statement now. 


Then I tried a bottle that was sort of etched already. It wasn't shiny, in other words... The engraving didn't show up very well. I ended up using paint to rub into the etching to show it up more. It left a gold mica tint in the etching.


Then I bought a small red bottle with three flat sides. I really like the way this one came out! I think I see an improvement over my first few attempts, anyway! What do you think? 


Side two of the red bottle. Couldn't/didn't do the third side, mostly because there is a large seam running down the center of it. I may still do something with it, not sure yet. 


Thanks for looking and come back soon!


Saturday, May 16, 2015

Poor Man's Etching (Glass Fusing & Mica Powders)

Warning: This post has a TON of photos! :) Not too long ago, I found out you could use Versamark, rubber stamps and mica powders with fused glass in my microwave kiln (mwk)...AKA "Poor man's etching", I fell in love with the technique and have used it extensively over the last couple of weeks. I got a deal on one of my FB groups to buy/sell glass and other fusing stuff and got three pounds of black 96 COE scrap very cheap. It is my ONLY 96 COE glass so I haven't been able to use it with any of my other glass....so I got stamping to jazz it up a bit! I had recently purchased some tree stamps and loved the way they look as a pendant. The tree below was done with three different colors of mica powder - blue, pink and green. I found the coolest bail for it, that looks like a tree, too. :)


Back of tree pendant with tree bail.

Then on one of my other FB fused glass groups, a gentleman made the most amazing fused glass panel by etching black backed dichroic with a rotary tool, so I decided to give it a try.  I've also been fascinated by the MUD technique by Margot Clark (link leads to her Pinterest board, some lovely examples of her work!), and have been trying to emulate it with other methods and tried etching a flower into the blue pendant pictured below. It came out a little dark but is a gorgeous color blue!

Then I got inspired and tried making a flag for someone special using a red background and white premade stringers with some dichroic. It came out really cute!


Another tree. This pendant showed me that I could add the mica on the firepolish firing. I wasn't happy with the red pendant - an attempt at the "bubble technique" taught by Tanya Veit...if you don't know who she is, go watch some of her Youtube videos on glass fusing, immediately! She is so talented and teaches such cool stuff. Anyway, I got some kind of devit or something in this and wasn't happy with it. 

Bubble Pendant before - showing devit?

I stamped it with the first tree stamp I had and still wasn't satisfied...(the one on the right in the photo has musical notes behind the trees...it's called Tree Song.)


Then I got a new tree stamp and tried restamping it and fire polishing it again. Surprisingly, it took! I'm very happy with this one. I have since learned that I could have ground off the original tree that I stamped at first and then restamped, but fortunately the first stamp doesn't show through this tree. 


More stamped pendants...this one with dichro.


This is more of my 96 COE glass.


Then I got on a sailboat kick. Don't ask me why. :) 


This one, I etched some birds flying into the sun. Somehow I got fish flying over the sun, as well. :)


This one is kind of plain but its the only one I used a pinch bail on....


 Then I pulled out my Asian stamps. Really happy with this one. :)


This one came out okay too. :)


 I got some cool tiny stamps of deer to go with the trees and got inspired with talk of landscape canes on both my polymer clay and glass groups, recently, so I made some tiny landscapes.  These deer are supposed to be standing by the dichroic water, at any rate. :)


This one was more of an Alpine feel but I wasnt' entirely happy with the result, so I restamped it with the light pink mica. Can you see the tiny millefiore flowers at the bottom? :)


Another sort of Alpine setting, with a sunset. :)


Deer at night. :D Found this Pearl Ex mica powder called Citrine that is so pretty fired! I think the Pearl Ex shows up better than the Perfect Pearls I've been using. I would love to find some black mica....I think that is next on my to-do list! If anyone knows any good suppliers, let me know in the comments!


More deer with a dichro moon. There is a tree in the background, as well. "Ghost Tree".


 I wouldn't say I got carried away making these stamped deer/moon landscapes, but....


Okay, I did. :D This is still just SOME of them...lol.


Then I found out about something called Sgraffito. (See why I love that Citrine? Looks like real gold, even fired on the bottom of a piece!) Sgraffito is scratching into a surface to reveal the color below. So, I covered the bottom glass with Versamark, dusted with Citrine, and scratched the name into it.


Tried doing it with this one. Not that great but it was my first one! :)


I then figured out I could combine the sgraffito with my stamps to make them look more detailed...or fix them if they didn't stamp perfectly...I added some detail to the palm tree and scratched waves into my "beach" background...


So, I have to finish this here....been trying to for a while now but I keep making more I want to put in this post!  I hope I've given you some ideas and some inspiration! And if you would like to purchase anything you see on my page, contact me! Thanks for looking and make sure to stop by my Pinterest page to see a lot more of my creations, and like my Facebook page, Karmic Confetti