Sorry for the long absence but I recently had surgery on my right thumb (from all the wire wrapping, I fear!) and had to get a cortisone shot in my left, then I had cataract surgery in both eyes, the last two days ago! The doctor said I had the eyes of an 80 year old (I'm over 20 years younger!) and that they were brown cataracts...EW...! I had my eyes done for monovision, which means one eye sees close up and the other sees distance. Your brain kind of takes over and that way you don't need eyeglasses to read. My eyes are very dry, and I never was able to wear contacts. I had started noticing my vision getting bad, but I didn't think it was cataracts! I am very happy so far though! Now that my hand is better, I can get back into close up work.
Here's my latest work. Be patient, there are a LOT of pictures on this one. Even though I haven't posted much, I've still made a lot of pieces! I've been trying to be a little original and come up with some different things than I usually make. There is quite a variety here! :) Hope you enjoy exploring.
 |
| This is Howlite with copper. Based on a tutorial by Oxana Crafts on Youtube. Contact me for further information on any pieces you see! They are available unless specified otherwise. <3 |
 |
| Also based on Oxana's tutorial. I think this is Rose Quartz. I really love the way this came out! |
 |
| I wish I knew the kind of stone this is but I don't. This is based on a free tutorial by Julie Hulick. She does MAGNIFICENT work...I love her style so much! She has a ton of both free and paid tutorials that you can access here! |
 |
| The other side of the pendant above. Even the back is nice with this tutorial! |
 |
| Same tutorial from Julie Hulick. This is a stainless steel washer with Pebeo Prisme and Moon paints. I love the vibrant colors! This tutorial makes it reversible...See the other side below. |
 |
| Here's the other side of the stainless and Pebeo pendent. |
 |
| Then I went a different direction. These are my Glam Ladies. This one has a silver butterfly with Swarovski crystal wings. |
 |
| This Retro Glam Lady has a copper butterfly. Blends in a little too muich! |
 |
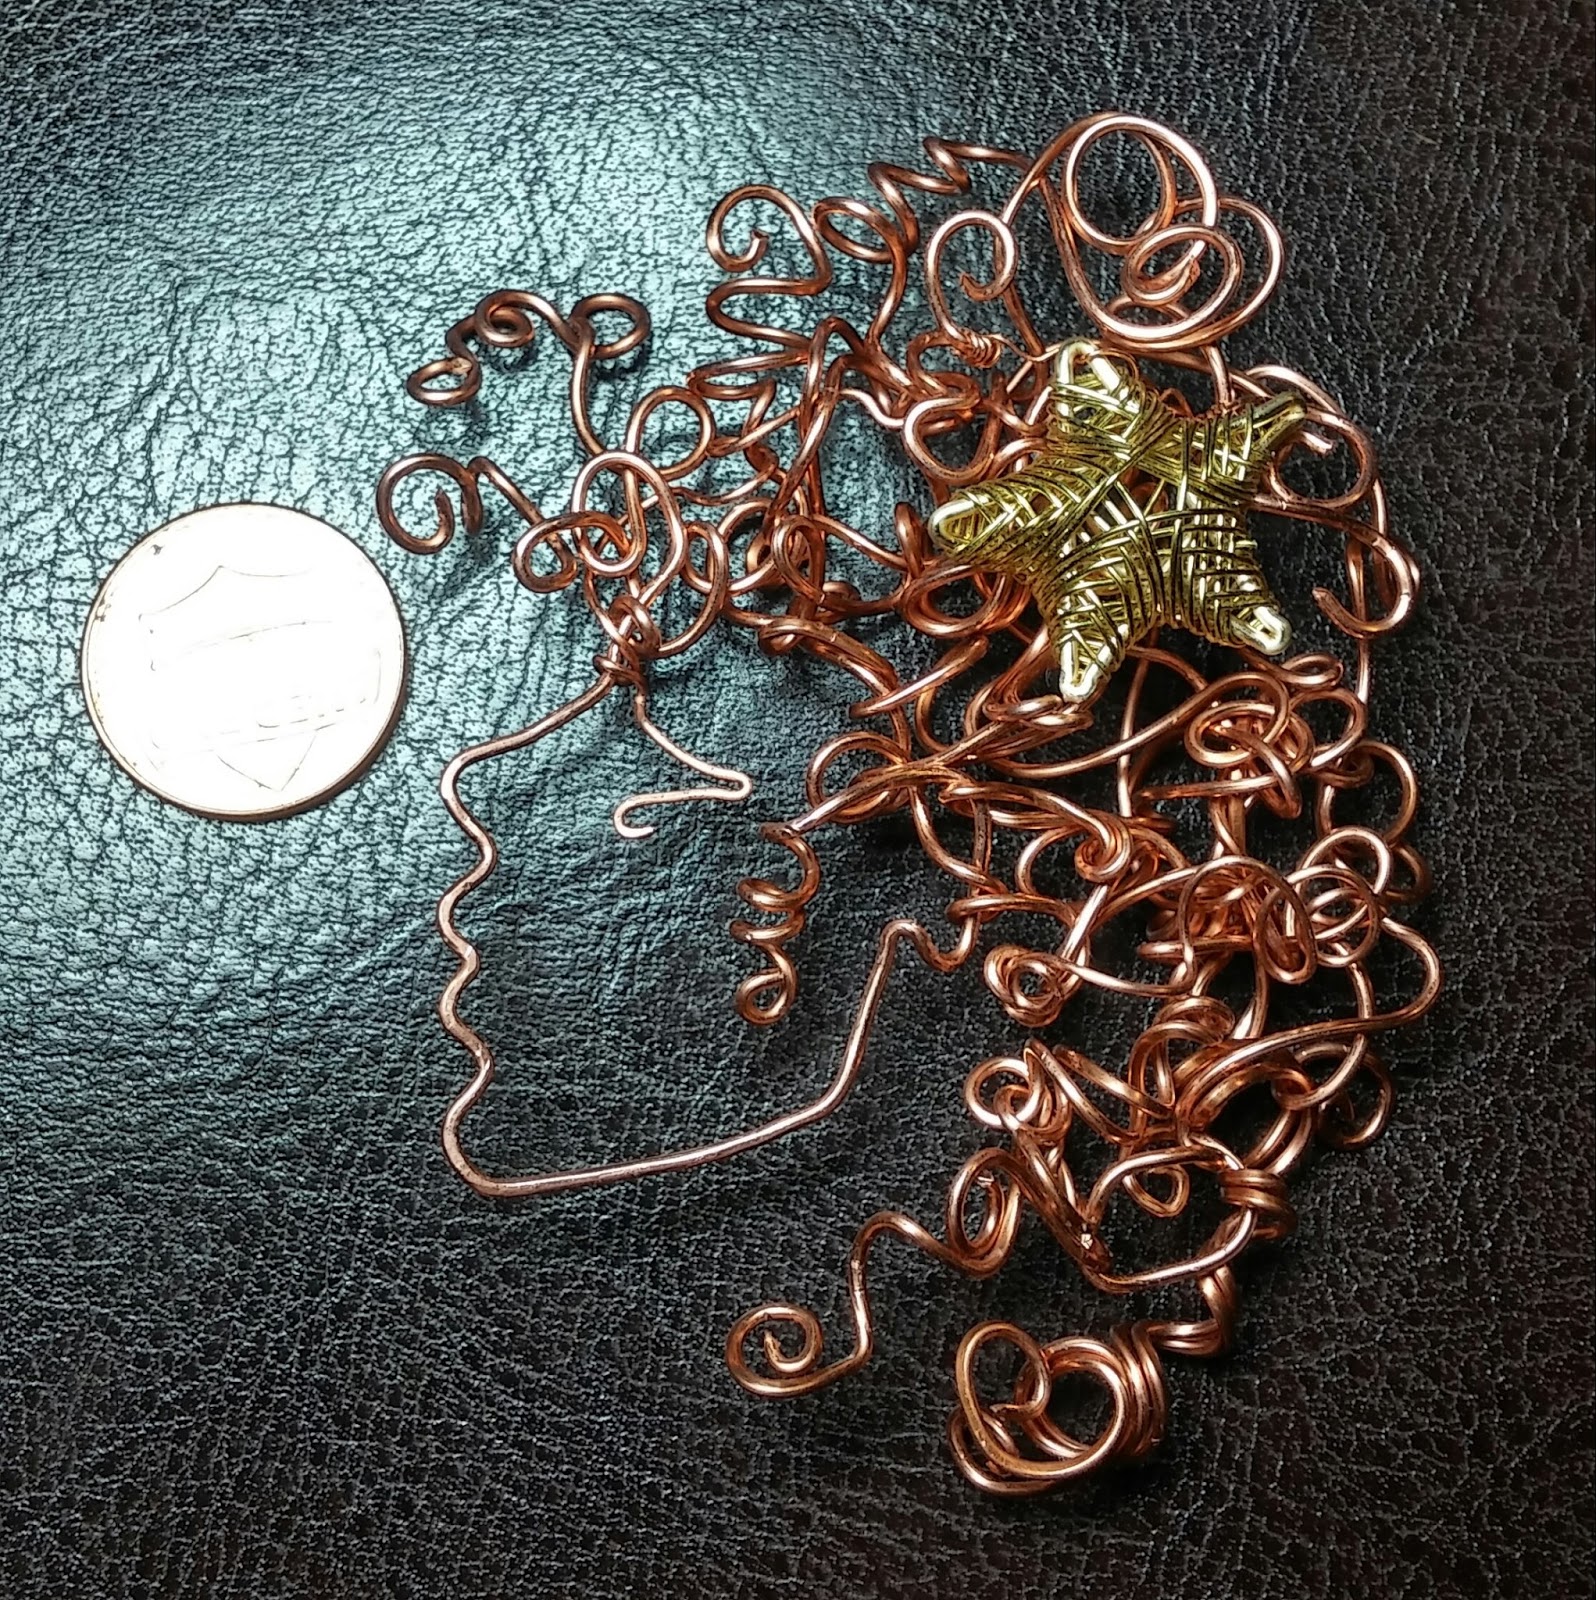
| This is Myrtle the Mermaid, as you can see from the SeaStar in her hair. ;) |
Then I went still another direction!
 |
| You can see how tiny these are by the nickel. Glass beads and wire Cinderella's Glass Slippers. |
 |
| There are many ways to customize these. This one has a tiny butterfly on the back heel... |
 |
| ..As seen on this one. |
 |
| Then I started making them much larger! The tiniest one is the one above, by the nickle.:) The biggest one is a gift for someone's yard, in copper and purple glass beads. |
And then I went a whole different way!
 |
| It was brought to my attention that these are not lion faces, they are Cheetah faces. So these are my Lyin' Cheatahs. :D |
 |
| Had to do the white lion in silver wire... |
THEN I went still a DIFFERENT way! :)
Then I made some horses...!
 |
| Pre patina'd copper wire with a Swarovski dangle. |
That suddenly turned into Unicorns!
 |
| Swarovski dangle with copper beads and wire. |
 |
| These are sterling and silver filled with Swarovski crystals. Fell in love with making these! |
 |
| They've all been hammered for strength. |
THEN I went still ANOTHER way!
 |
| Copper Weedy Seahorse with copper SeaStar The star is a tutorial by Lan Anh on Youtube. Very simple to make...once you make the star even.. |
 |
Yes, I made a few. :) Most have Swarovski crystals mixed into their bodies and/or for their eyes.
AND THEN...I made Weedy UniSea...I mean Weedy Cornihorse...I mean..lol. |
 |
| I don't know what to call it but I like em. :D |
 |
| How could you tell!? I got carried away with one of their horns .. |
Some more of the SeaStars. I love these. Found a cute anchor clasp to go along with one of them.
And THEN...
 |
| I made a few tiny Mermaids...they are about 3" tall. |
Last one! Thanks for hanging in there, there were so many pictures! Let me know what you think...and if you want more information, please feel to contact me, either here or on Facebook!


