
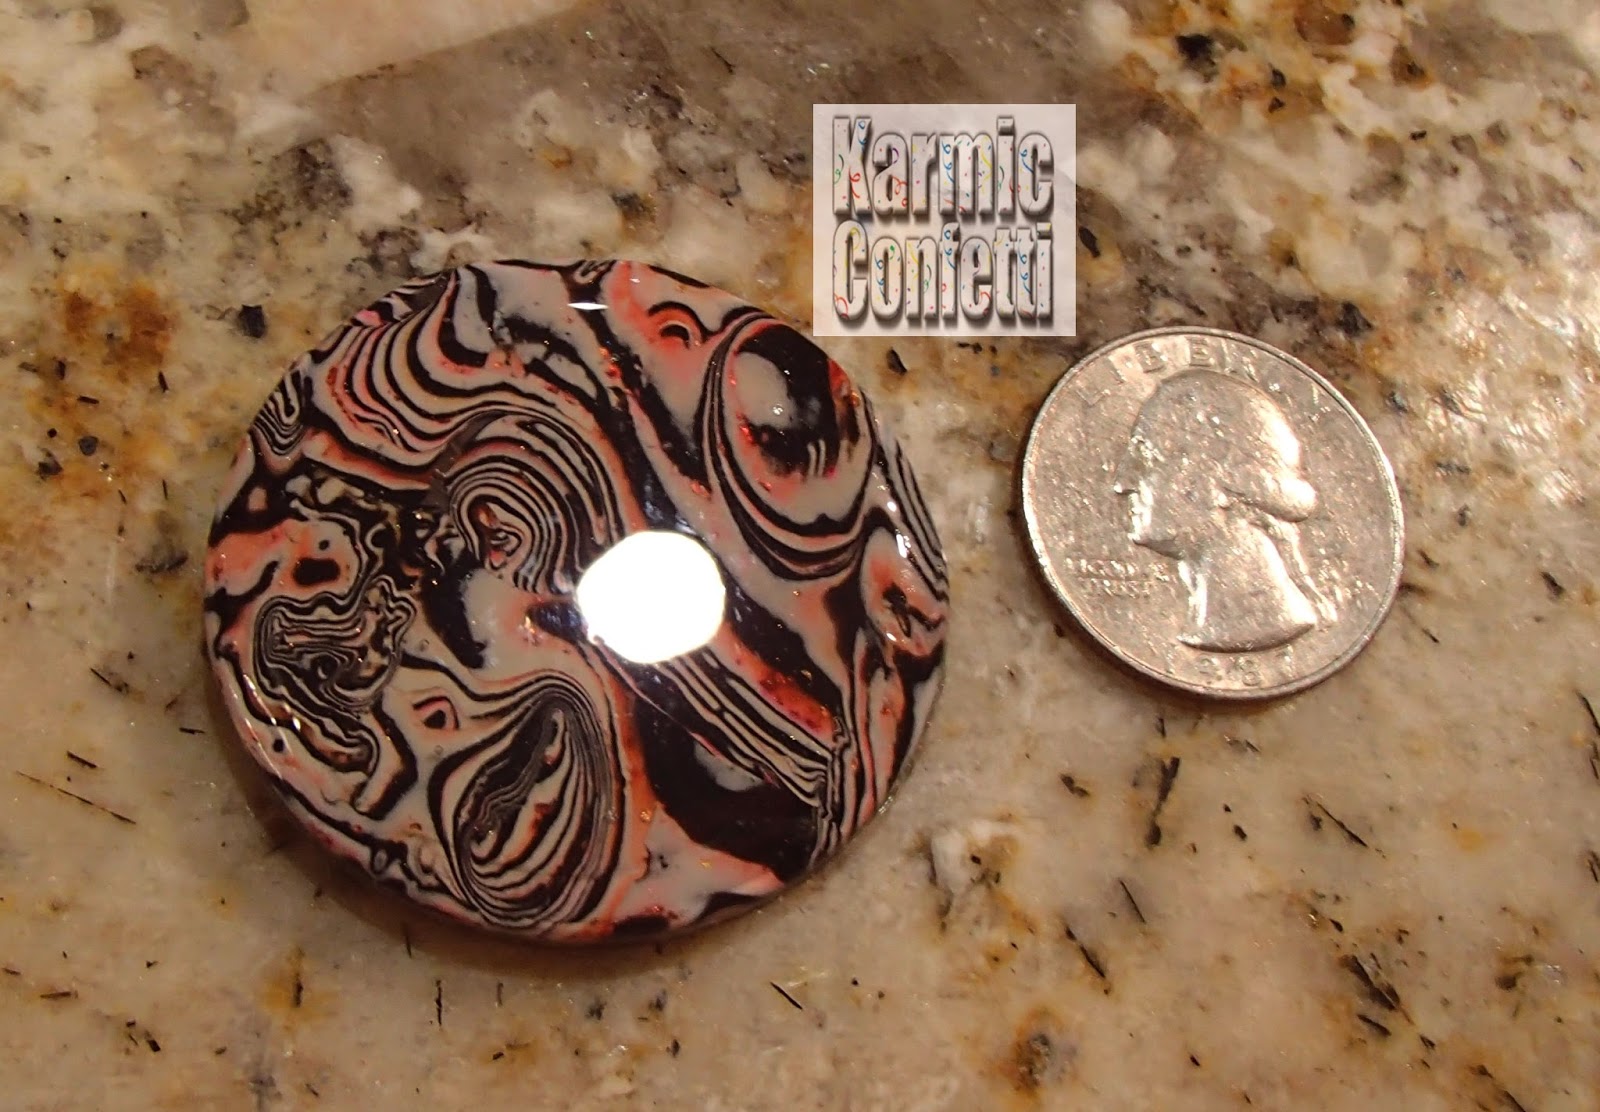
Warning! This post has a LOT of pictures! I've been playing around with the Mokume Gane technique by Marilyn again, this time with greens and blue inks only. Here are some of the nicest!

This is the back of the previous one. I had these baked for a couple of weeks now but ran out of Magic Glos. I ended up getting a 6 oz bottle from Amazon because I know I'll be using it for these! It came out about half the cost of getting it in the store....well worth it!

It is amazing how the blues and greens pop on these once the resin is on them. They are quite dull without it, even if you polish them...The shine from the foil really stands out after doming!

This is the back of the previous one. This side is flat. It just looks textured. :)

Front.

Back. This one is textured.

Front. Love the colors in this one. I used Sailboat, Stream, Lettuce, Bottle...a few others...

This is the back of the previous one.

Front.

This is the back of the previous one.

Love the ones with the dots in them. :) Front.

This is the back of the previous one. The backs of some of these aren't great...

Front.

This is the back of the previous one.

This is one I wrapped from the previous batch with the reds and yellows.

This is the back of the previous one. No resin on this side.

Previous batch again. Front.
This is the back of the previous one. No resin on this one. The matte finish can be interesting, too.
Back to the blues! This one is much smaller.

This one is a bit different from the other ones in the red batch. I used some Kato Liquid Clay over it at first and didn't like it, so I sanded it smooth and used the MG. It gave it a hazy look that I really love. It reminds me of Bryce Canyon.

This is the back of the previous one.

First one I used the twisted wire with. Had a coupon @ Michaels! :) The bursts of pink look like tiny flowers...love this batch!

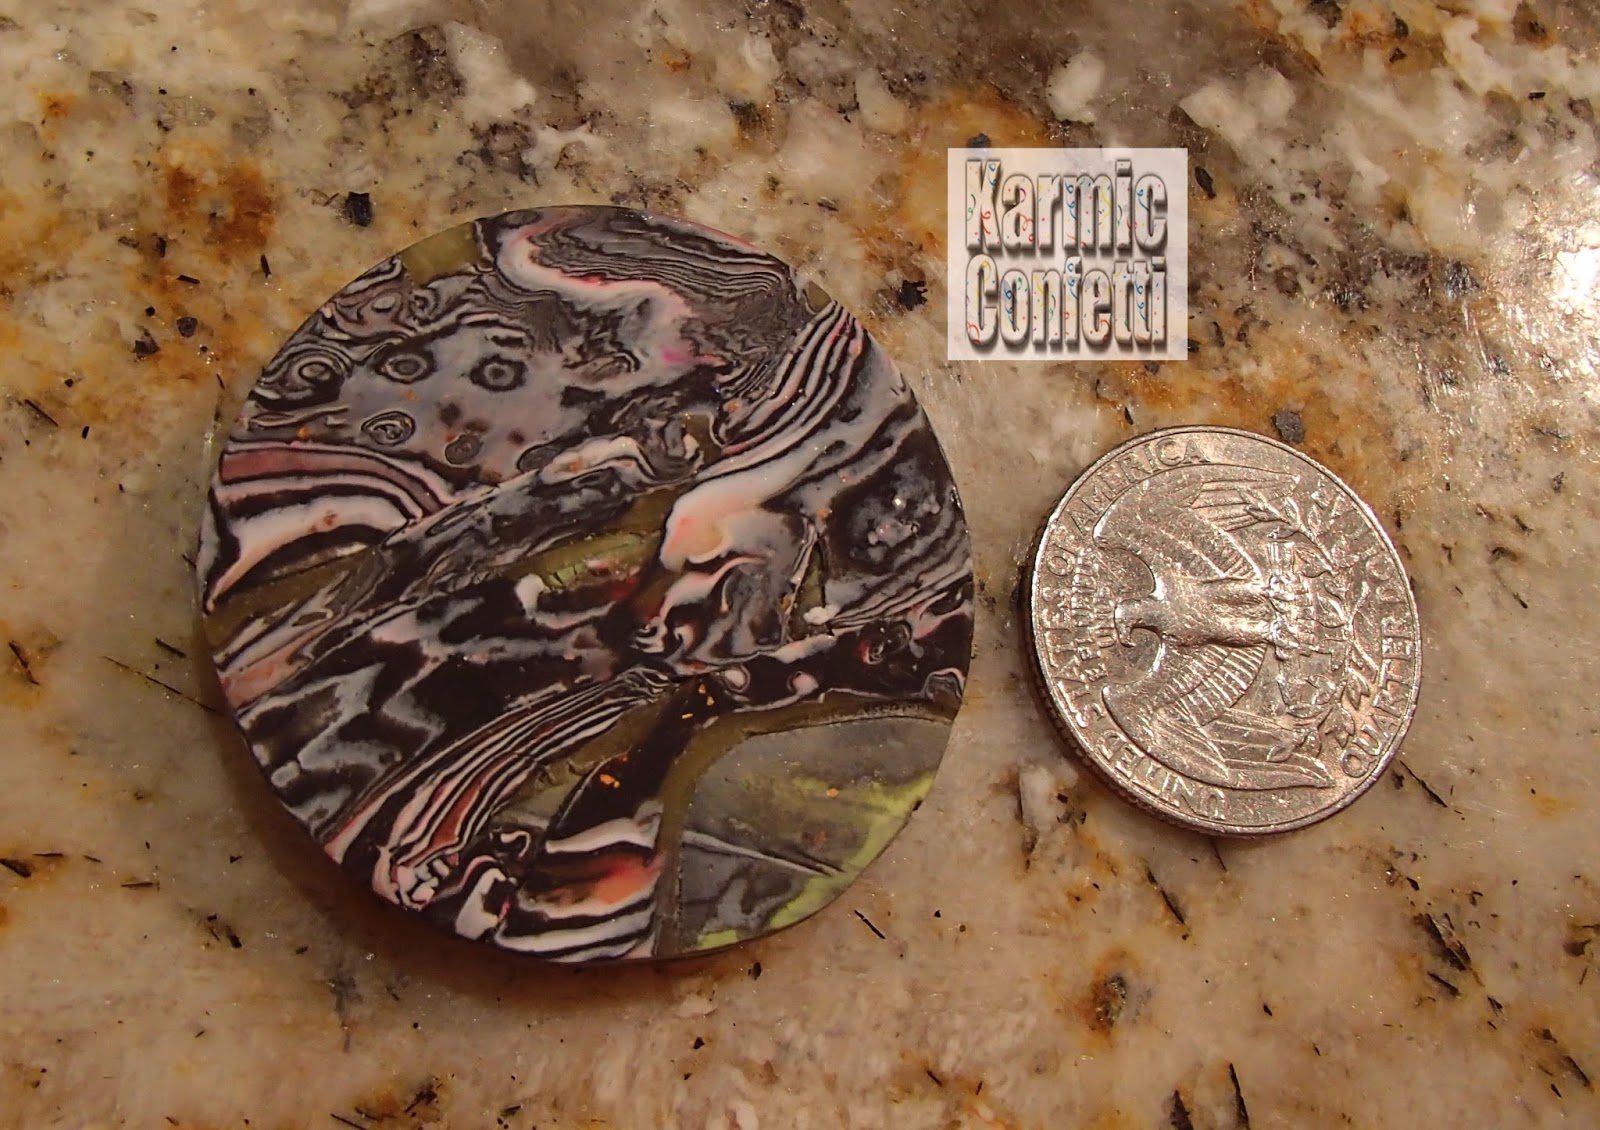
This is the back of the previous one.

The red batch again.

This is the back of the previous one. I use coarse sandpaper to make the texture on the back.

This one is a little different from the others. It is still the same red Mokume Gane stack, the very end scrap...I flattened it over a previously completed bead and pressed a stamp into it. Then I rubbed some copper powder into the high spots. I really like it.


This is the back of the previous one.

Another swirl bead.

This is the back of the previous one.

Then I had been thinking about a bead I saw online recently that had a lot of swirls and layers and translucency. I had got a new Fimo clay color called Blue Ice Quartz and wanted to try to emulate the one I had seen, making a light blue striated "stone" of clay.

Well, I may have wanted a light blue stone but this is what came out of the oven. I think the Ice clay is a transparent clay and it wasn't quite what I was looking for. I used a variation of the Mokume Gane technique Marilyn uses, without any ink or foil. I just wanted the layers. I am not saying it's ugly, it's just not what I planned on. :) I used transparent, the Ice blue and some white. I have the light pink quartz, too and may not try it with this technique!

I also got the bright idea to use some of the sheet metal I've been working with (available at Home Depot, 10 5x7" sheets for less than three dollars!). I had been cutting very thin strips of it off and noticed how it curled up. I decided to embed it in the clay to give the plain clay some life. It does make it a little harder to sand the piece after baking, so plan accordingly!

I also used white eyelets to strengthen the holes. I love the polish on this one! Again, I just sanded well at 220, went over it again with some 2500, then buffed. I did find a trick that makes it shine even more though...use a light paste of cornstarch and water. Rub it on the stone and use your Dremel to buff it off....outside, preferably, as it makes a mess! But look at that shine...!

More sheet metal. This one buffed up very nicely, even with the aluminum on top...


The darker area is where the blue Ice was. Hmph. ;)

Last one! I loved the striations in it. Hope you enjoyed the photo show!

Thanks for looking - make sure to stop by my Pinterest page to see a lot more of my creations, and please like my Facebook page, Karmic Confetti!


